For the sake of transparency – I run a seed ball business called Seed Balls Australia, which is still in its infancy. Rest assured, I am not trying to sell you anything, I’m just really proud to be able to share my knowledge and affection for such a fabulous natural product!
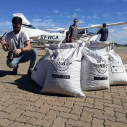
I sell my seed balls at markets and have them stocked in a number of shops. I have also had them purchased for party bags for both children’s and adults’ parties. I have dressed them up beautifully for wedding favours and am currently working on a range of funeral seed balls. As part of my work with Jindalee Ag, my seed balls have been used in roadside revegetation, landscaping projects on new housing estates, civic works and mining regeneration works. I use open-pollinated non-GMO seeds and have used flower, herb and native seeds with excellent results.
I genuinely believe that seed balls are a fabulous way of planting and this will explain why.
Seed balls have been used for centuries as a means of sowing seeds. The Japanese farmer and philosopher Masanobu Fukuoka used them to reclaim desertified land (land degraded by poor farming practices) in rural Japan. In alternative agriculture, Fukuoka is very well known. Fukuoka wrote about his use of seed balls in his books “One Straw Revolution” and “Sowing Seeds in the Desert”. Fukuoka used the seed ball method to sow all his crops including rice and wheat, coating each seed in compost and clay prior to distributing them in his fields and paddies. His yields were dramatically increased using this method.
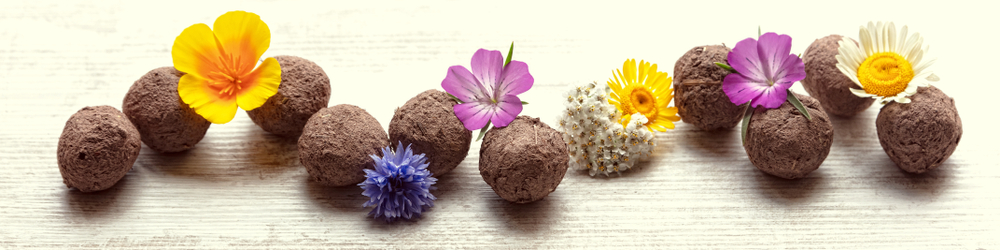
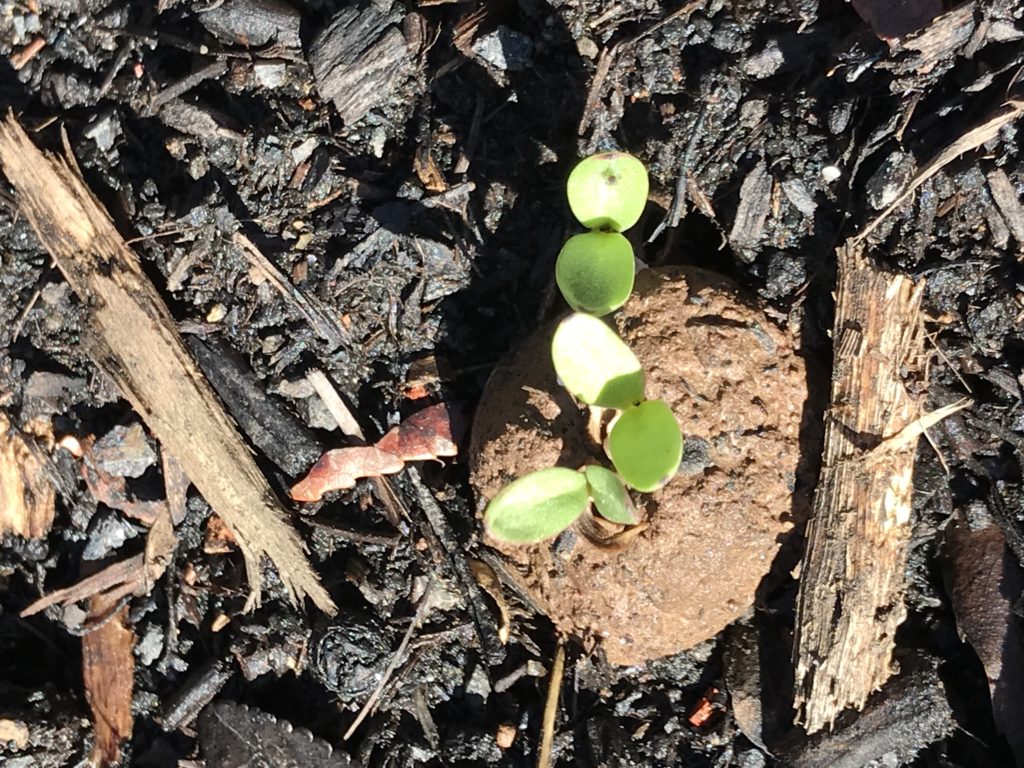
The benefits of using seed balls to plant are many and varied and include the fact that you lay them on top of the soil rather than planting them, so no digging is required. The clay protects the balls until there is enough rain (or water from a hose or irrigation system) to penetrate the balls and stimulate the seed to germinate. The seed is protected from rodents and foraging animals, and for added protection, they can be coated in cayenne pepper or chilli powder before they are dried. The seed will sit dormant until the weather conditions are correct for germination. They are not likely to be blown away in high winds so suit exposed sites. Did I mention that you can just throw them in the garden or sit them on top of the soil in a pot? The balls can be used to plant on sloping sites as they can be tossed onto the site -you can even use a slingshot to scatter them. Imagine the fun a group of kids (or big kids for that matter) could have in the name of native regeneration. I can see groups of Scouts out in National Parks scattering seed balls as directed by Landcare.
In Kenya there is an ongoing program of Jungle regeneration with indigenous trees and grasses, using seed balls. The balls are made by hand giving employment, then they are spread throughout specific areas by a number of different methods. The program works with schools to encourage and educate young people in their environment. I believe slingshots are used in this part of the program. The slingshots are made specially with the top of a plastic soft drink bottle (with the lid still in place) where a number of balls can be placed and shot off at the same time. The balls are also scattered using drones, helicopters and planes to reach less accessible and steep terrain. The program began in September 2016 and since that time over 7 million seed balls have been spread. Charcoal is used in Kenya as the binding agent rather than clay. The balls are also available for purchase to other East African countries for revegetation programs which provides further funds for the program.
Seed balls have been featured on both Gardening Australia and Better Homes and Gardens in the past year. An internet search or a search on Pinterest will come up with hundreds of ideas and suggestions.
Seed balls can be made from compost and Papier Mache or compost and clay. I use the compost and clay method myself.
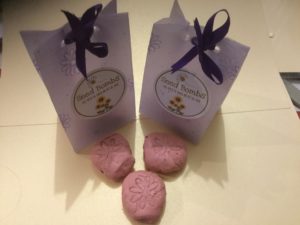
These balls were made using air drying clay which gives quite a decorative finish and achieves the same outcome but takes much more work and is more expensive.
Children love making seed balls (who doesn’t like a nice messy and very tactile activity). After drying the balls, the spreading of them is another fun activity with children. They can then monitor the changes in the balls over a period of time.
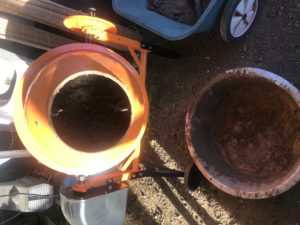
My production of seed balls is on a much larger scale but still involves each ball being hand made. I start my process with clay that comes from my property so it requires a bit of digging out. Jindalee Ag’s Certified organic premium compost is my choice for the compost component. It is an excellent quality product making it very easy to work with. I have used other commercially available compost and have found large pieces of all sorts of things in them and this slows down the manufacturing process for me. The clay then goes into a concrete mixer (never used for any other purpose) along with compost and water and it mixes for several minutes until I have deemed it has reached the ideal consistency. The mixture is then poured into a very large metal bowl and kneaded by hand to remove any small lumps. Once lumps are removed the seeds are embedded and the balls rolled. In summer drying happens in the sun and takes just a couple of hours. In winter the process occurs in a Dehydrator at a very low temperature for 3 hours.
Overall, seed balls are easy and fun to make and can be very cost-effective, especially if you grow and gather your own seeds. The germination rate from seed balls in my experience is excellent. I have always liked planting from seed but have not always had great success with germination until I started using seed balls. Making seed balls makes a great school holiday activity. Maybe child-made seed balls could be added to gifts this Christmas.